
Fresh. Organic. Mold Free. Top Quality.

Pour Over (V60/Chemex)
Ingredients:
- 22g coffee (medium-fine grind)
- 360g water (205°F / 96°C)
Instructions:
- Place the filter in the dripper and rinse with hot water to remove paper taste and preheat the brewer
- Add ground coffee and level the bed
- Start timer and pour 50g of water for the bloom, making sure all grounds are saturated
- After 30 seconds, slowly pour water in circular motions until you reach 150g total
- Continue pouring in stages (adding 50-70g at a time) until you reach 360g total
- Allow all water to drain through (total brew time should be 3-4 minutes)
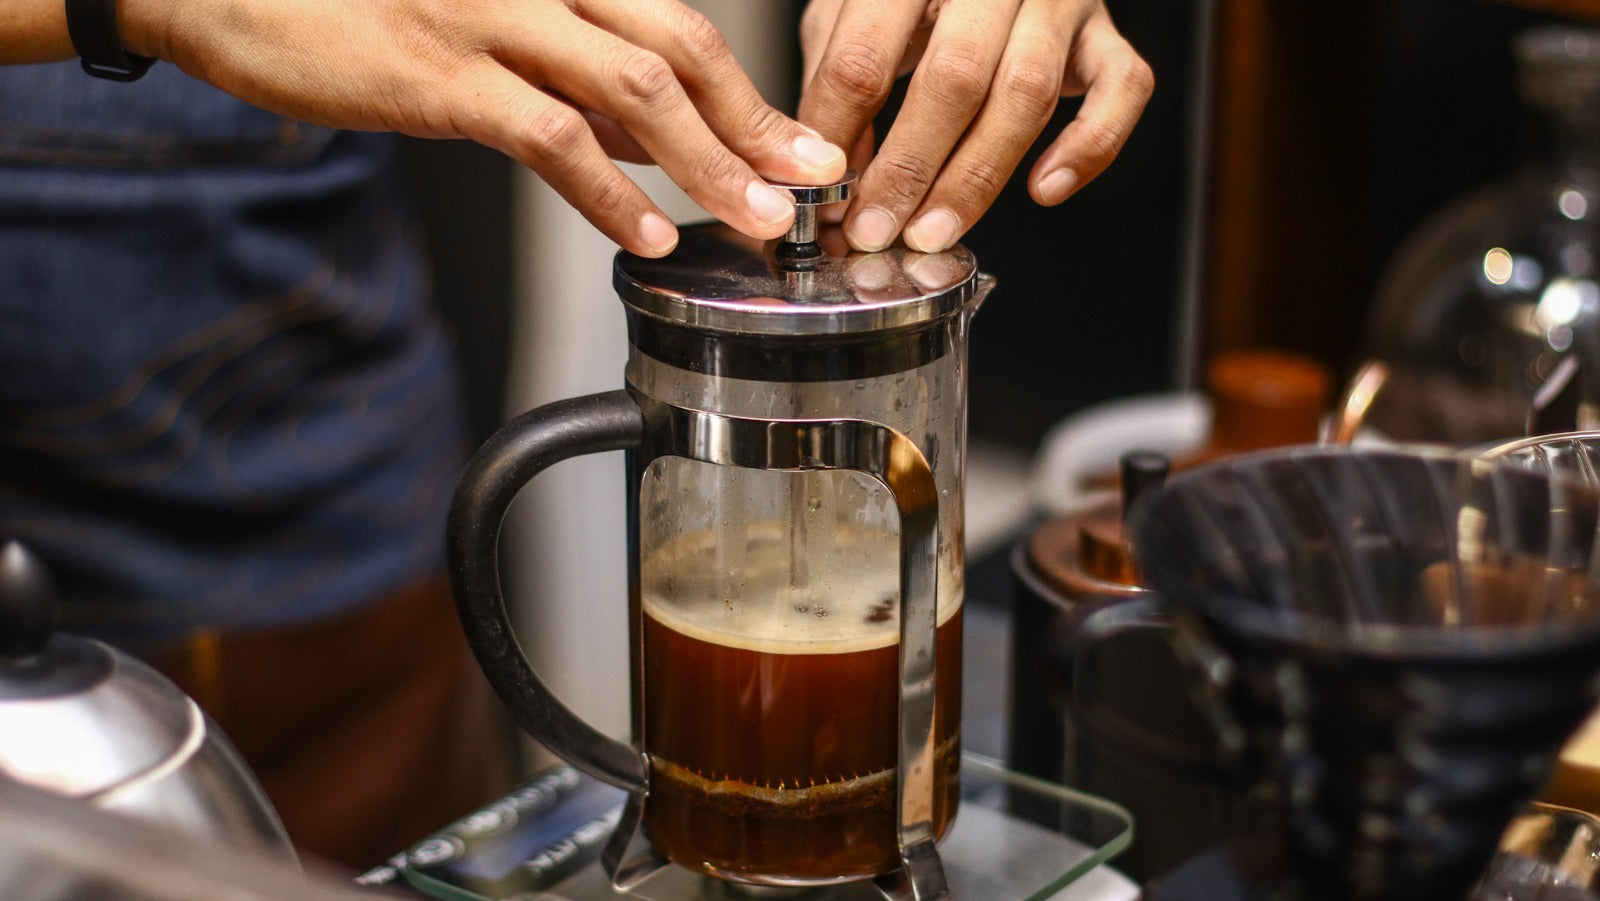
French Press
Ingredients:
- 30g coffee (coarse grind)
- 500g water (205°F / 96°C)
Instructions:
- Preheat the French Press with hot water, then discard the water
- Add ground coffee to the French Press
- Start timer and add half the water (250g), making sure all grounds are saturated
- Stir gently with a wooden spoon to break the crust
- Add remaining water (250g) and place the lid on top with the plunger pulled up
- After 4 minutes, slowly press the plunger down
- Pour immediately to prevent over-extraction
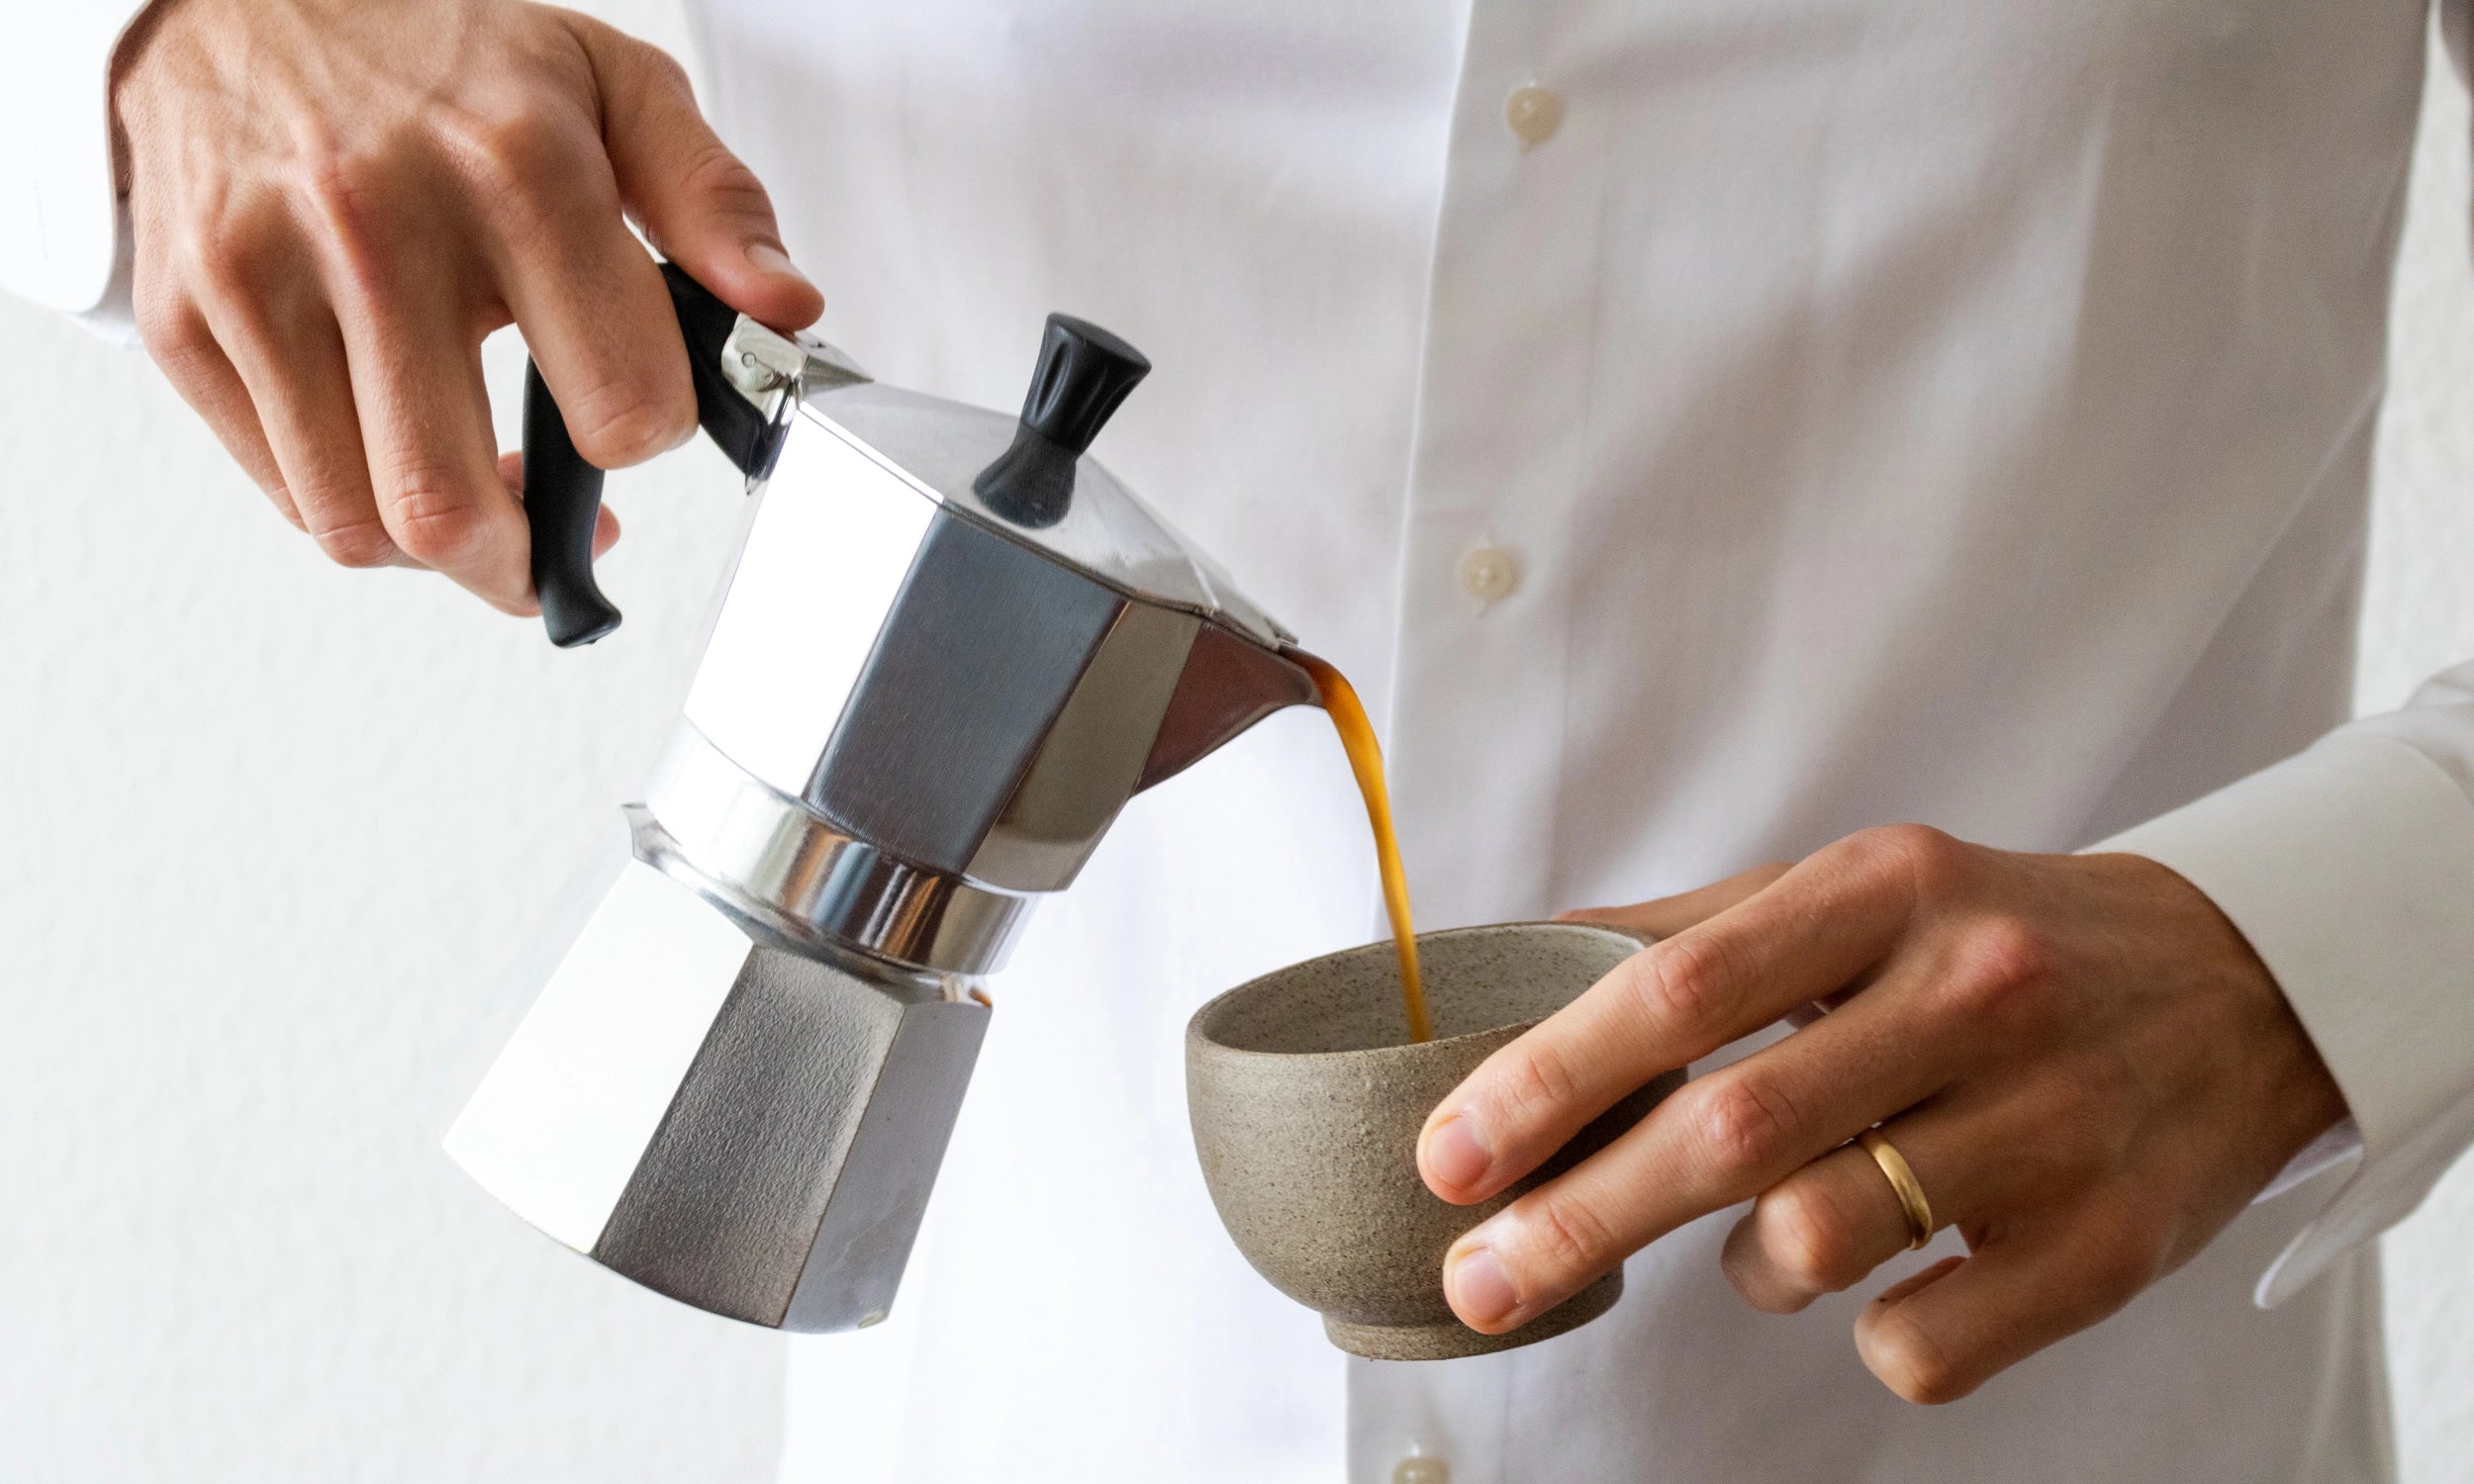
Moka Pot
Ingredients:
- 15-18g coffee (medium-fine grind)
- Water filled to the valve (about 200ml for a 3-cup pot)
Instructions:
- Fill the bottom chamber with hot water up to the valve
- Insert the funnel filter and fill with coffee (don't tamp)
- Brush away any coffee grounds from the rim
- Screw on the top chamber tightly
- Place on medium-low heat
- Keep the lid open to observe the brewing process
- When coffee begins to flow, reduce heat to low
- Remove from heat when you hear a gurgling sound or when the stream turns blonde
- Wrap the bottom with a cold, damp towel to stop extraction (optional)
- Pour and enjoy immediately
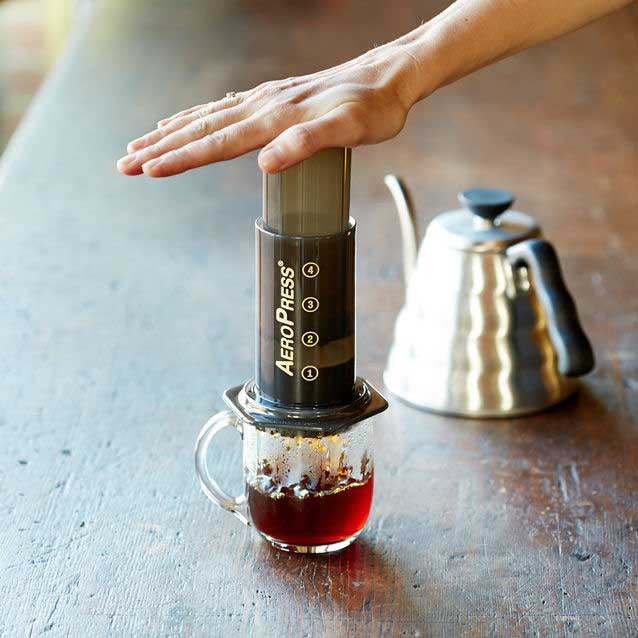
AeroPress
Ingredients:
- 17g coffee (medium-fine grind)
- 250g water (185-205°F / 85-96°C)
Instructions (Standard Method):
- Place a paper filter in the cap and rinse with hot water
- Attach the cap to the AeroPress chamber and place on your mug
- Add coffee to the chamber
- Start timer and add water (250g)
- Stir for 10 seconds
- Insert the plunger and press gently until you hear a hissing sound (should take about 30 seconds)
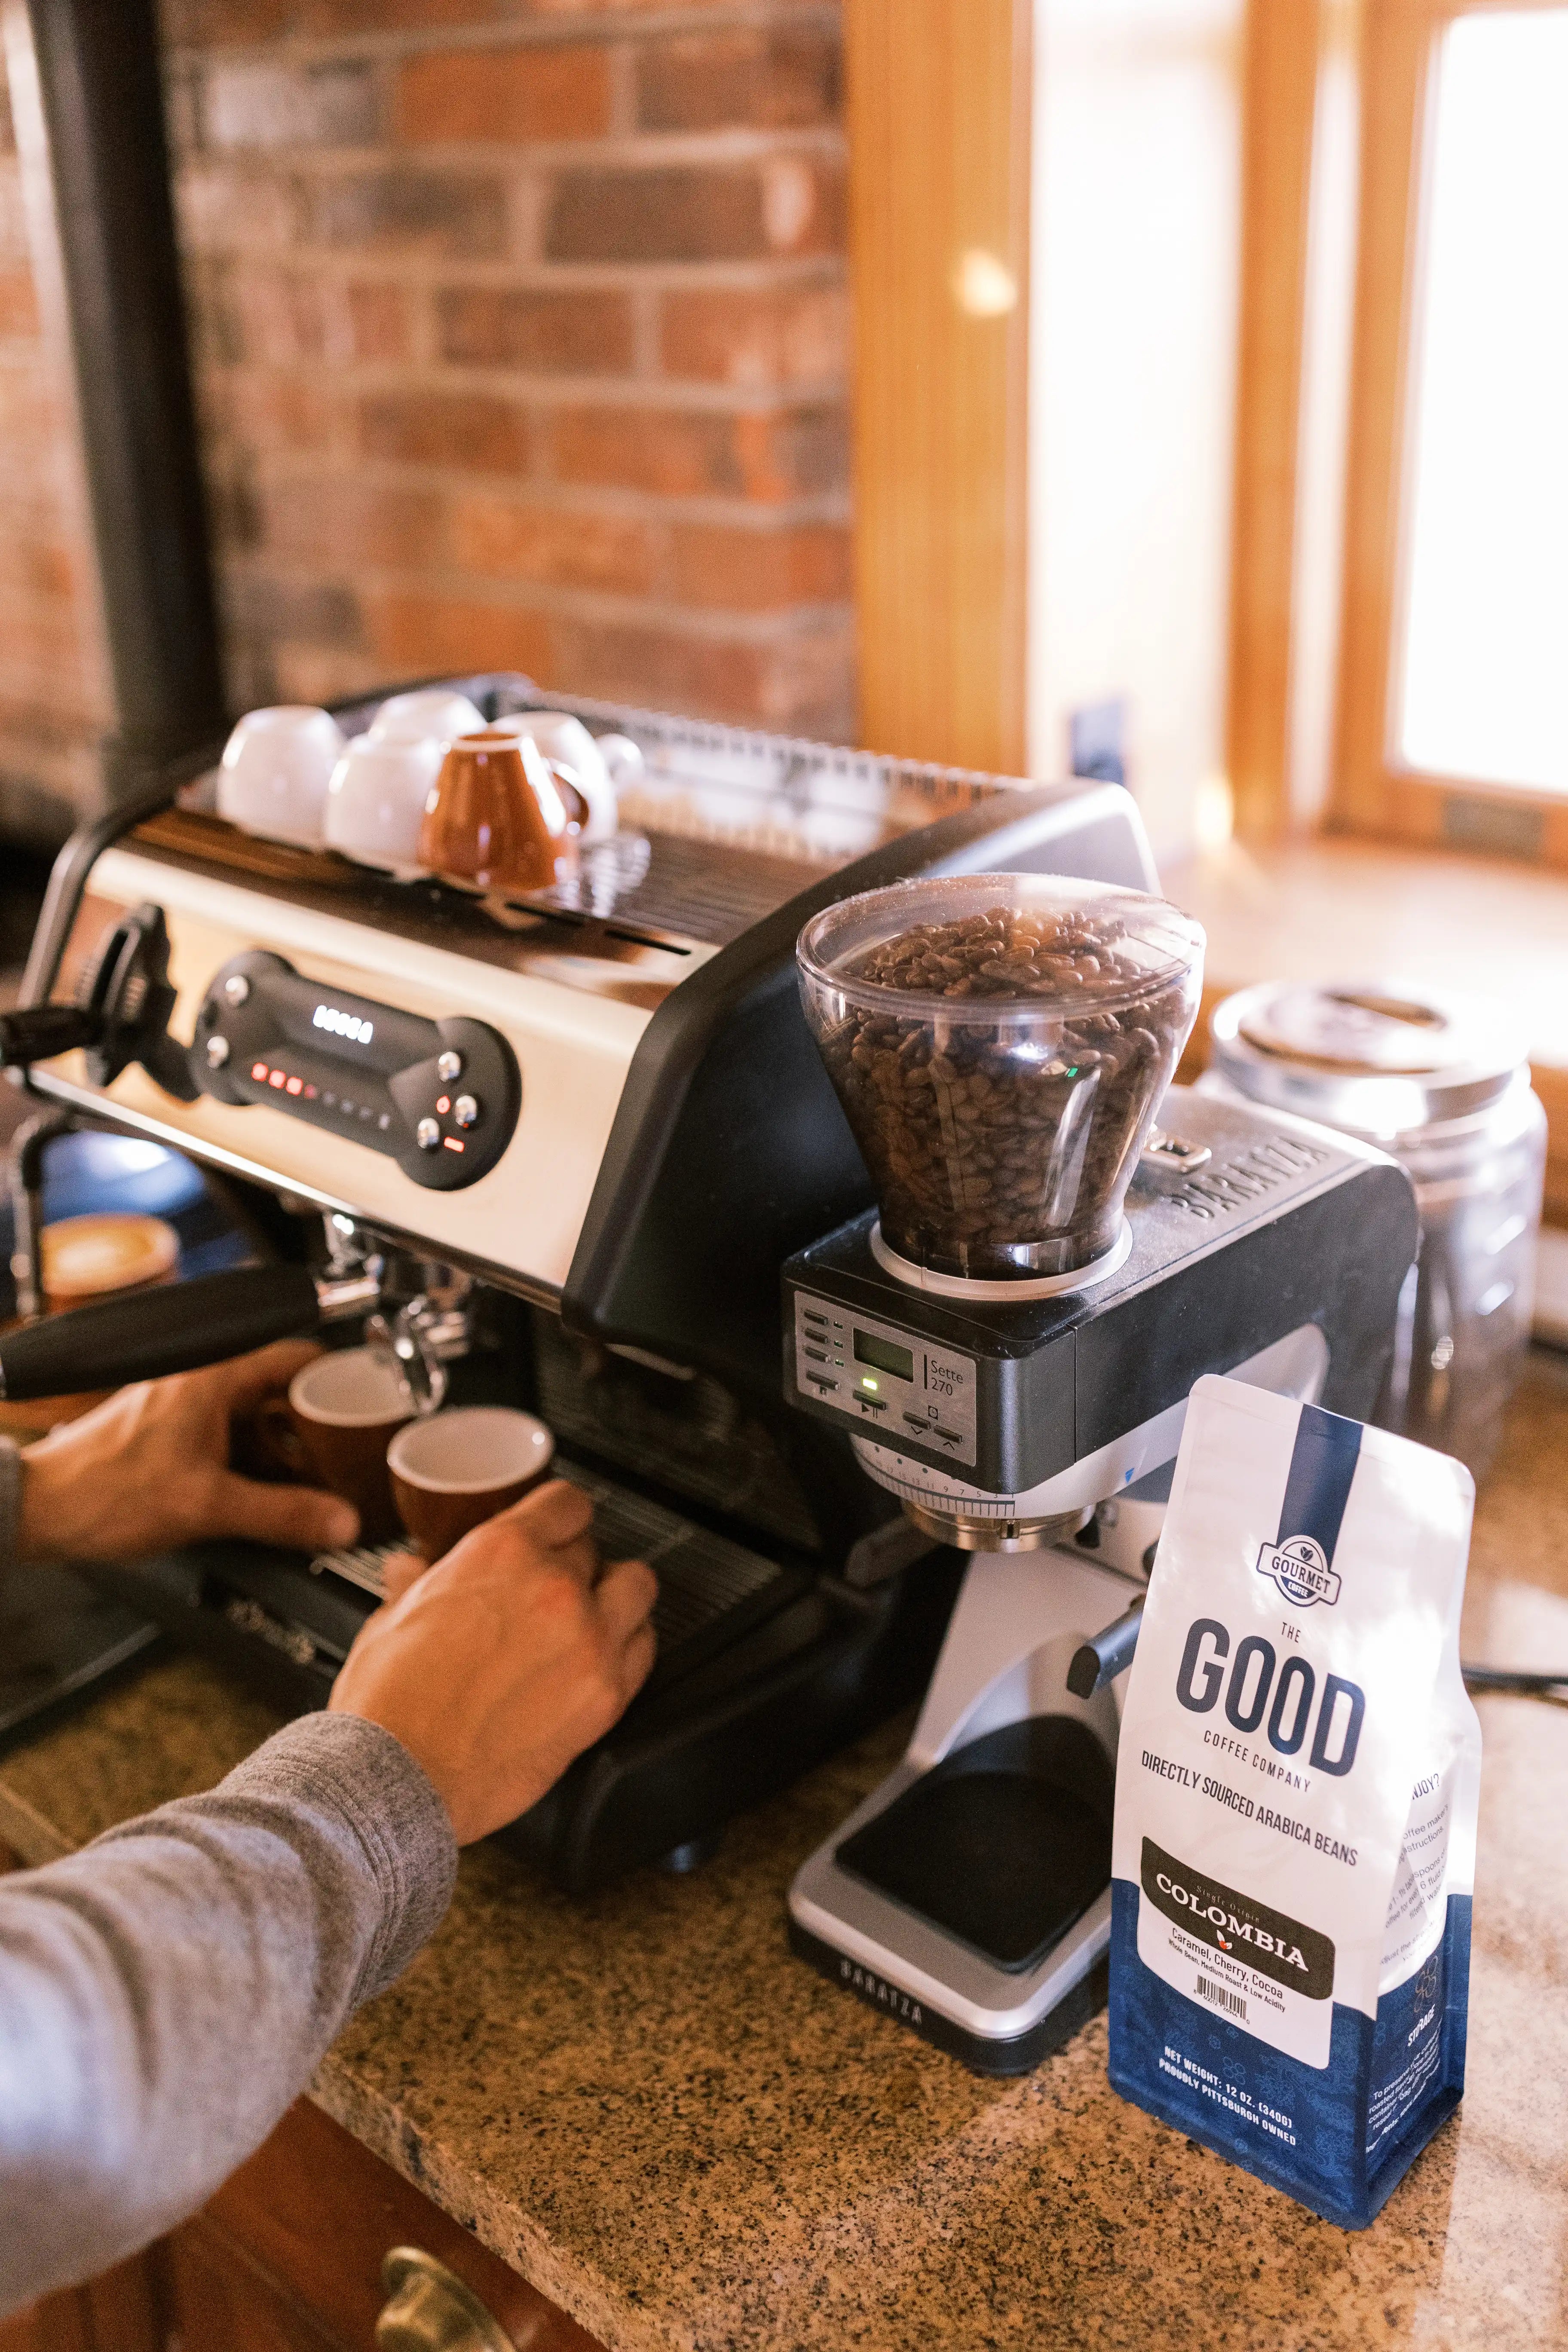
Espresso
Ingredients:
- 18-20g coffee (fine grind)
- 36-40g water output (1:2 ratio)
- Water at 200°F / 93°C
Instructions:
- Preheat your machine, portafilter, and cup
- Grind coffee into the portafilter basket
- Distribute the grounds evenly
- Tamp with about 30 pounds of pressure, keeping the tamper level
- Lock the portafilter into the group head
- Start the shot and timer simultaneously
- Aim for a 25-30 second extraction time for a 1:2 ratio (18g in, 36g out)
- Stop the shot when you reach your target weight

Cold Brew
Ingredients:
- 100g coffee (coarse grind)
- 800g cold filtered water (1:8 ratio)
Instructions:
- Grind coffee to a coarse consistency (similar to sea salt)
- Add coffee to your container
- Pour cold filtered water over the grounds
- Stir gently to ensure all grounds are saturated
- Cover and let steep at room temperature for 12-24 hours
- Strain through a filter into a clean container
- Store in the refrigerator for up to 2 weeks
- Dilute with water or milk to taste (typically 1:1 ratio)
Stop Drinking Bad Coffee.